

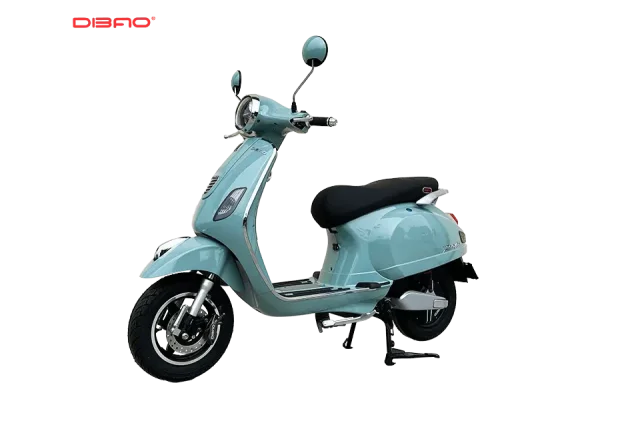
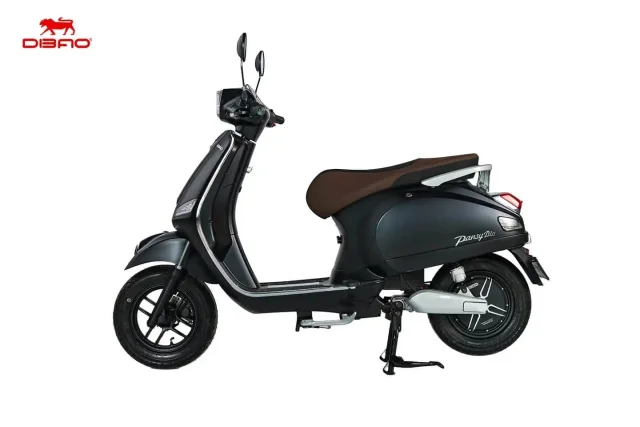
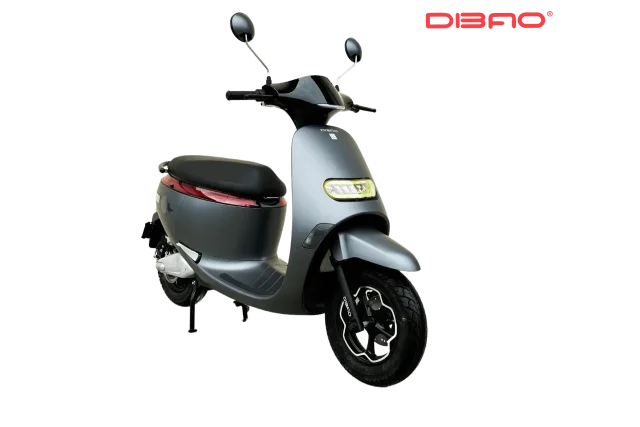
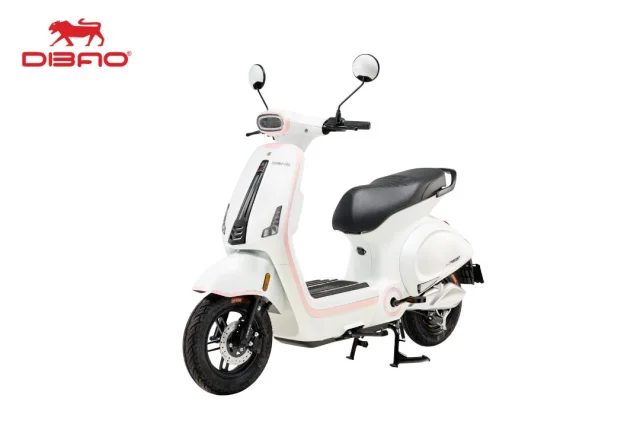
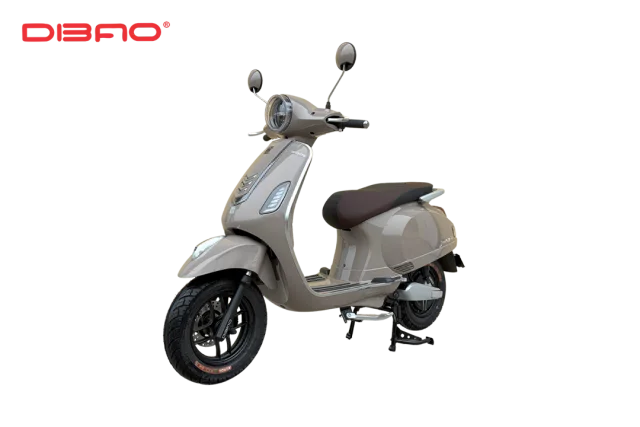
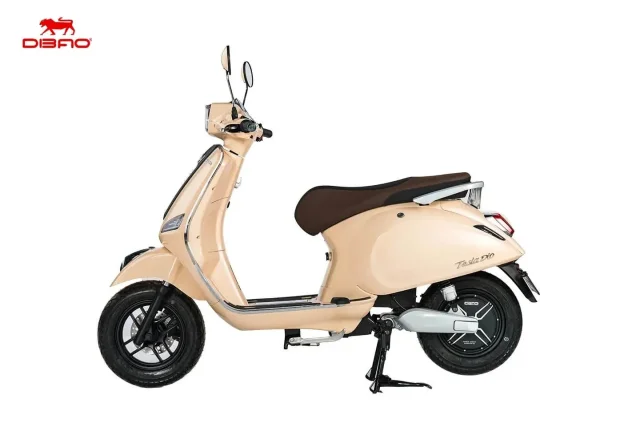
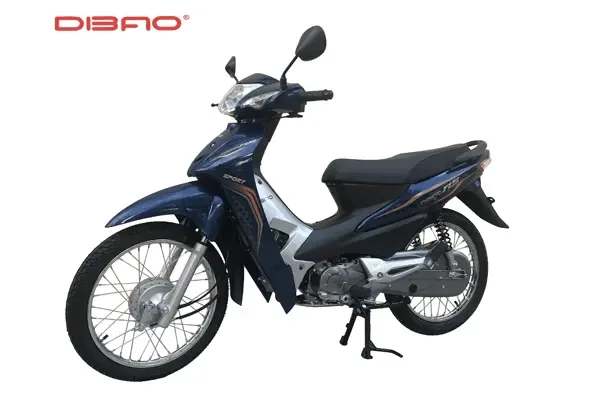
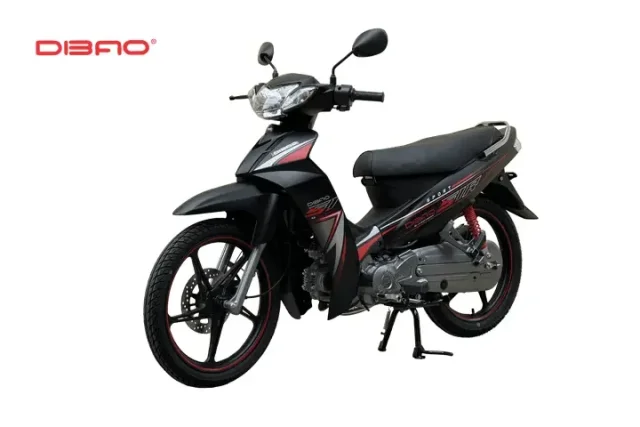
This document provides instructions on how to operate and charge the vehicle. Please read carefully before use to ensure safety and maintain vehicle durability. Specific instructions for electric motorcycles apply only to models equipped with the corresponding features.
I/ Safety Principles
- Only operate the vehicle when you fully understand how to ride and possess safe driving skills.
- Always wear a quality-certified helmet when participating in traffic; use appropriate dust-proof glasses that do not restrict vision.
- Obey traffic regulations; pay attention to the road surface, observe surrounding vehicles, and signal when turning or changing lanes.
- Do not use a mobile phone or music player while driving. When riding at night, it is recommended to wear bright-colored clothing or clothing with reflective details.
- Do not carry an overload or exceed the permitted number of passengers. When carrying children, seat them behind the driver; do not allow children to access the ignition key or throttle.
- Do not operate the vehicle if the braking system is not functioning, tires are underinflated, or the vehicle shows signs of being unsafe.
II/ Pre-ride Inspection
Before every journey, check the following items:
- Tires: ensure pressure matches the manufacturer's specifications; do not use the vehicle if tires are underinflated.
- Braking system: check front brakes, rear brakes, and the brake power-cut function.
- Battery: check the remaining battery level on the display or dashboard; recharge when necessary, do not wait until the battery is completely depleted before charging.
- Fasteners: check bolts, nuts, and screws at critical locations such as wheel axles, forks, and the braking system.
III/ Starting and Operating the Vehicle
Starting
- Insert the key into the ignition switch.
- Sit firmly on the seat, place your left foot on the ground, and place your right foot on the footrest or the right pedal for electric bicycles; hold the handlebar securely.
- Turn on the ignition according to the vehicle's instructions. Only switch from the "P" parking mode to the "Ready" state when you are ready to depart, if the vehicle is equipped with this function.
Operating the Vehicle
- Twist the throttle gradually to start the vehicle moving. Once the vehicle is stable and balanced, lift your left foot onto the footrest or left pedal.
- Observe and anticipate traffic situations to adjust speed accordingly; slow down and use the brakes when necessary. Do not speed, accelerate suddenly, or brake harshly unless necessary.
- Use the horn, headlights, and signal lights correctly and appropriately for traffic situations.
Stopping and Parking
- Slow down and stop safely. Before getting off the vehicle or walking it, turn off the ignition switch or switch to "P" mode to prevent sudden movement caused by accidentally twisting the throttle.
- When stopping temporarily, always switch the vehicle to "P" mode or turn off the ignition. When parking or storing the vehicle, remove the key and activate the anti-theft lock if available.
- Stop and park in designated areas.
IV/ Maintenance and Care
1. Recommendations for Vehicle Use
Regular inspections and periodic maintenance ensure the vehicle is always in top condition. Timely and proper maintenance is essential for safe operation and to save repair costs. Therefore, DIBAO Vietnam encourages users to always perform pre-ride inspections and follow the proper maintenance schedule.
Periodic maintenance checks must be carried out at DIBAO's authorized service centers or official distribution dealers.
2. Maintenance Schedule
|
No. |
Maintenance Content |
Mileage or time of use, whichever comes first |
||||||||||||
|
X1000 km |
1 |
5 |
10 |
15 |
20 |
25 |
30 |
35 |
40 |
45 |
50 |
|||
|
Month |
1 |
6 |
12 |
18 |
24 |
30 |
36 |
42 |
48 |
54 |
60 |
|||
|
1 |
Brake assembly (front/rear) |
Brake lever sensitivity |
Check |
Check |
Check |
Check |
Check |
Check |
Check |
Check |
Check |
Check |
Check |
|
|
Brake grip |
Check |
Check |
Check |
Check |
Check |
Check |
Check |
Check |
Check |
Check |
Check |
|||
|
Brake fluid |
- |
Check |
Check |
Check |
Check |
Check |
Check |
Check |
Check |
Check |
Check |
|||
|
2 |
Throttle |
Check |
Check |
Check |
Check |
Check |
Check |
Check |
Check |
Check |
Check |
Inspect |
||
|
3 |
Lights/horn/dashboard |
Inspect |
Inspect |
Inspect |
Inspect |
Inspect |
Inspect |
Inspect |
Inspect |
Inspect |
Inspect |
Inspect |
||
|
4 |
Ignition switch/switch assembly |
Inspect |
Inspect |
Inspect |
Inspect |
Inspect |
Inspect |
Inspect |
Inspect |
Inspect |
Inspect |
Inspect |
||
|
5 |
Kickstand |
- |
Maintain |
Maintain |
Maintain |
Maintain |
Maintain |
Maintain |
Maintain |
Maintain |
Maintain |
Maintain |
||
|
6 |
Front wheel rim |
Appearance |
Inspect |
Inspect |
Inspect |
Inspect |
Inspect |
Inspect |
Inspect |
Inspect |
Inspect |
Inspect |
Inspect |
|
|
Fastening bolt |
Inspect |
Inspect |
Inspect |
Inspect |
Inspect |
Inspect |
Inspect |
Inspect |
Inspect |
Inspect |
Inspect |
|||
|
Front axle bearing |
Inspect |
Inspect |
Inspect |
Inspect |
Inspect |
Inspect |
Inspect |
Inspect |
Inspect |
Inspect |
Inspect |
|||
|
7 |
Rear wheel rim with motor |
Appearance |
Inspect |
Inspect |
Inspect |
Inspect |
Inspect |
Inspect |
Inspect |
Inspect |
Inspect |
Inspect |
Inspect |
|
|
Fastening bolt |
Inspect |
Inspect |
Inspect |
Inspect |
Inspect |
Inspect |
Inspect |
Inspect |
Inspect |
Inspect |
Inspect |
|||
|
Rear axle bearing |
Inspect |
Inspect |
Inspect |
Inspect |
Inspect |
Inspect |
Inspect |
Inspect |
Inspect |
Inspect |
Inspect |
|||
|
Motor oil seal |
- |
Inspect |
Inspect |
Inspect |
Inspect |
Replace |
Inspect |
Inspect |
Inspect |
Inspect |
Inspect |
|||
|
8 |
Tire (front/rear) |
Tire pressure |
Inspect |
Inspect |
Inspect |
Inspect |
Inspect |
Inspect |
Inspect |
Inspect |
Inspect |
Inspect |
Inspect |
|
|
Tire tread depth |
Inspect |
Inspect |
Inspect |
Inspect |
Inspect |
Inspect |
Inspect |
Inspect |
Inspect |
Inspect |
Inspect |
|||
|
9 |
Steering head |
Inspect |
Inspect |
Inspect |
Inspect |
Lubricate |
Inspect |
Inspect |
Inspect |
Lubricate |
Inspect |
Inspect |
||
|
10 |
Front shock absorber |
Inspect |
Inspect |
Inspect |
Inspect |
Inspect |
Inspect |
Inspect |
Inspect |
Inspect |
Inspect |
Inspect |
||
|
11 |
Rear shock absorber |
Check |
Check |
Check |
Check |
Check |
Check |
Check |
Check |
Check |
Check |
Check |
||
|
12 |
Battery |
Exterior appearance |
Check |
Check |
Check |
Check |
Check |
Check |
Check |
Check |
Check |
Check |
Check |
|
|
Connection terminals |
Check |
Check |
Check |
Check |
Check |
Check |
Check |
Check |
Check |
Check |
Check |
|||
|
*Note: Check = Check; Lubricate = Lubricate with grease; Replace = Replace |
||||||||||||||
3. Additional instructions:
- Check moving parts; promptly resolve any jamming or lack of lubricating oil and grease.
- Check the braking system, tire pressure, and battery level after every trip.
- Keep the vehicle clean and wash it regularly to maintain its durability and appearance.
- Store the vehicle in a dry place, avoiding water immersion; do not keep the vehicle near fire, sparks, or high heat sources.
- Bring the vehicle to an authorized service center or dealer for periodic maintenance every 3 months; do not exceed 6 months between maintenance services.
- Check and replace wearing parts such as brake pads and tires according to actual condition and the manufacturer's instructions.
- Check the motor oil seal and replace it periodically or as needed to enhance water resistance inside the motor; replacing the motor oil seal is recommended every 15,000 km or 25,000 km (depending on usage conditions and environment).
- When the vehicle emits strange noises, voltage drops rapidly, or the mileage per charge decreases abnormally, bring the vehicle to an authorized warranty and repair facility for inspection and repair.
V/ Safe Charging
Charging steps
- Only use the standard charger supplied by the manufacturer, suitable for the vehicle's battery type, voltage, and capacity. Absolutely do not use unknown or incompatible chargers.
- Move the vehicle to a dry, well-ventilated area near a 220V, 50Hz AC power outlet; turn off the ignition switch.
- Plug the charger output cable into the charging port on the vehicle.
- Plug the charger power cord into the 220V, 50Hz power outlet.
- When the battery is fully charged or charging needs to be ended, unplug the power cord from the outlet first, then disconnect the charger plug from the vehicle's charging port.
- When unplugging the power cord and disconnecting the charger from the vehicle, hold the designated gripping positions; never pull on the cable itself.
Notes during the charging process
- Place the charger in a secure, dry, well-ventilated location, out of reach of children and flammable materials; do not allow the charger to get wet.
- Do not cover, wrap, or place any materials on top of the charger and battery while charging.
- Limit continuous charging. If overnight charging is necessary, the charging time must not exceed 10 hours for vehicles using a 60V electrical system and 6 hours for vehicles using a 48V electrical system. These limits apply only when matching the instructions of the vehicle model, battery type, and included charger; stop charging even if the battery reaches 90% or more, or when the battery is fully charged.
- In hot summer weather conditions where the outdoor temperature exceeds 35o continuous charging time should not exceed 8 hours.
- If abnormal high temperatures, burning odors, or smoke occur, stop charging immediately; disconnect the power supply if safe to do so and contact an authorized warranty and repair facility. Do not continue using the charger or battery without inspection.
VI/ Fire and Explosion Safety and Environmental Protection
- Do not arbitrarily disassemble the motor, battery, or other components without professional expertise. Do not install accessories that may cause safety hazards, electrical shorts, fire, or explosions.
- Do not immerse the battery or electrical components of the vehicle in water. Use the specified voltage for the product.
- Electric vehicles do not emit exhaust gases from fuel combustion during operation. However, batteries and certain components can cause pollution if disposed of improperly.
- Used or damaged batteries must be handed over to a proper collection and treatment unit; do not dispose of them with household waste. Other spare parts must be sorted for recycling or transferred to designated collection and treatment points in accordance with regulations.
VII/ Battery Installation
Battery installation and wiring must be performed by qualified personnel, according to the configuration of each vehicle model.
- Use the correct type, quantity, and voltage of batteries as specified by the manufacturer.
- For configurations using 12V20Ah batteries, connect 4 batteries in series to create a 48V, 20Ah pack, 5 batteries to create a 60V, 20Ah pack, or 6 batteries to create a 72V, 20Ah pack, depending on the vehicle model.
- Use the wiring harness included with the vehicle according to the manufacturer's specifications; tighten the terminals and check the correct positive (+) and negative (-) poles before supplying power.
- Do not let the battery retaining bracket press against the wiring. Arrange the battery connection wires and power cords to avoid friction, impact, or pinching while the vehicle is operating.
VIII/ Handling Special Situations
1. Motor or rear wheel jammed
If the motor or rear wheel is jammed and difficult to turn due to reasons other than the anti-theft lock function or brake binding, do not attempt to push the vehicle. Turn off the ignition switch, disconnect the circuit breaker if equipped, and contact a roadside assistance unit or the nearest service facility.
If pushing the vehicle back is mandatory, disconnect the motor from the controller. A technician or technically knowledgeable person must disconnect the terminals at the wiring box, separate the motor wires from the controller, and insulate the terminals. The vehicle may only be pushed when the rear wheel rotates freely.
Attempting to push the vehicle while the motor is jammed can cause the motor to burn out. Damage resulting from non-compliance with this instruction is not covered by the warranty.
2. Vehicle submerged in water
The motor is sealed and has IP67 water resistance. However, operating the vehicle in flooded conditions should be minimized to avoid other unintended risks.
If water reaches the wheel axle level, promptly take the vehicle to a warranty and repair facility for inspection. Once water has entered the motor, disassembly and drying must be performed by technicians before operating the vehicle again.
Water inside the motor that is not handled promptly can cause oxidation, electrical shorts, and severe damage. Damage caused by water ingress is not covered by the warranty.
IX/ Motor Warranty Claim Documentation
When a dealer cannot resolve a motor defect through ordinary measures and has removed the cover for inspection, the dealer must take complete photos of the motor core, including the front face, rear face, and related areas, before closing the cover and sending it to the supplier for warranty processing.
In special cases, when only the motor core can be sent without the cover, the dealer or customer must provide photos of the disassembly process and the motor number on the cover for the supplier to verify.
The supplier may refuse to accept warranty claims for the motor core if the aforementioned photos and supporting information are not provided.
Please strictly follow the user manual, maintenance instructions, and warranty procedures to ensure smooth inspection and processing.